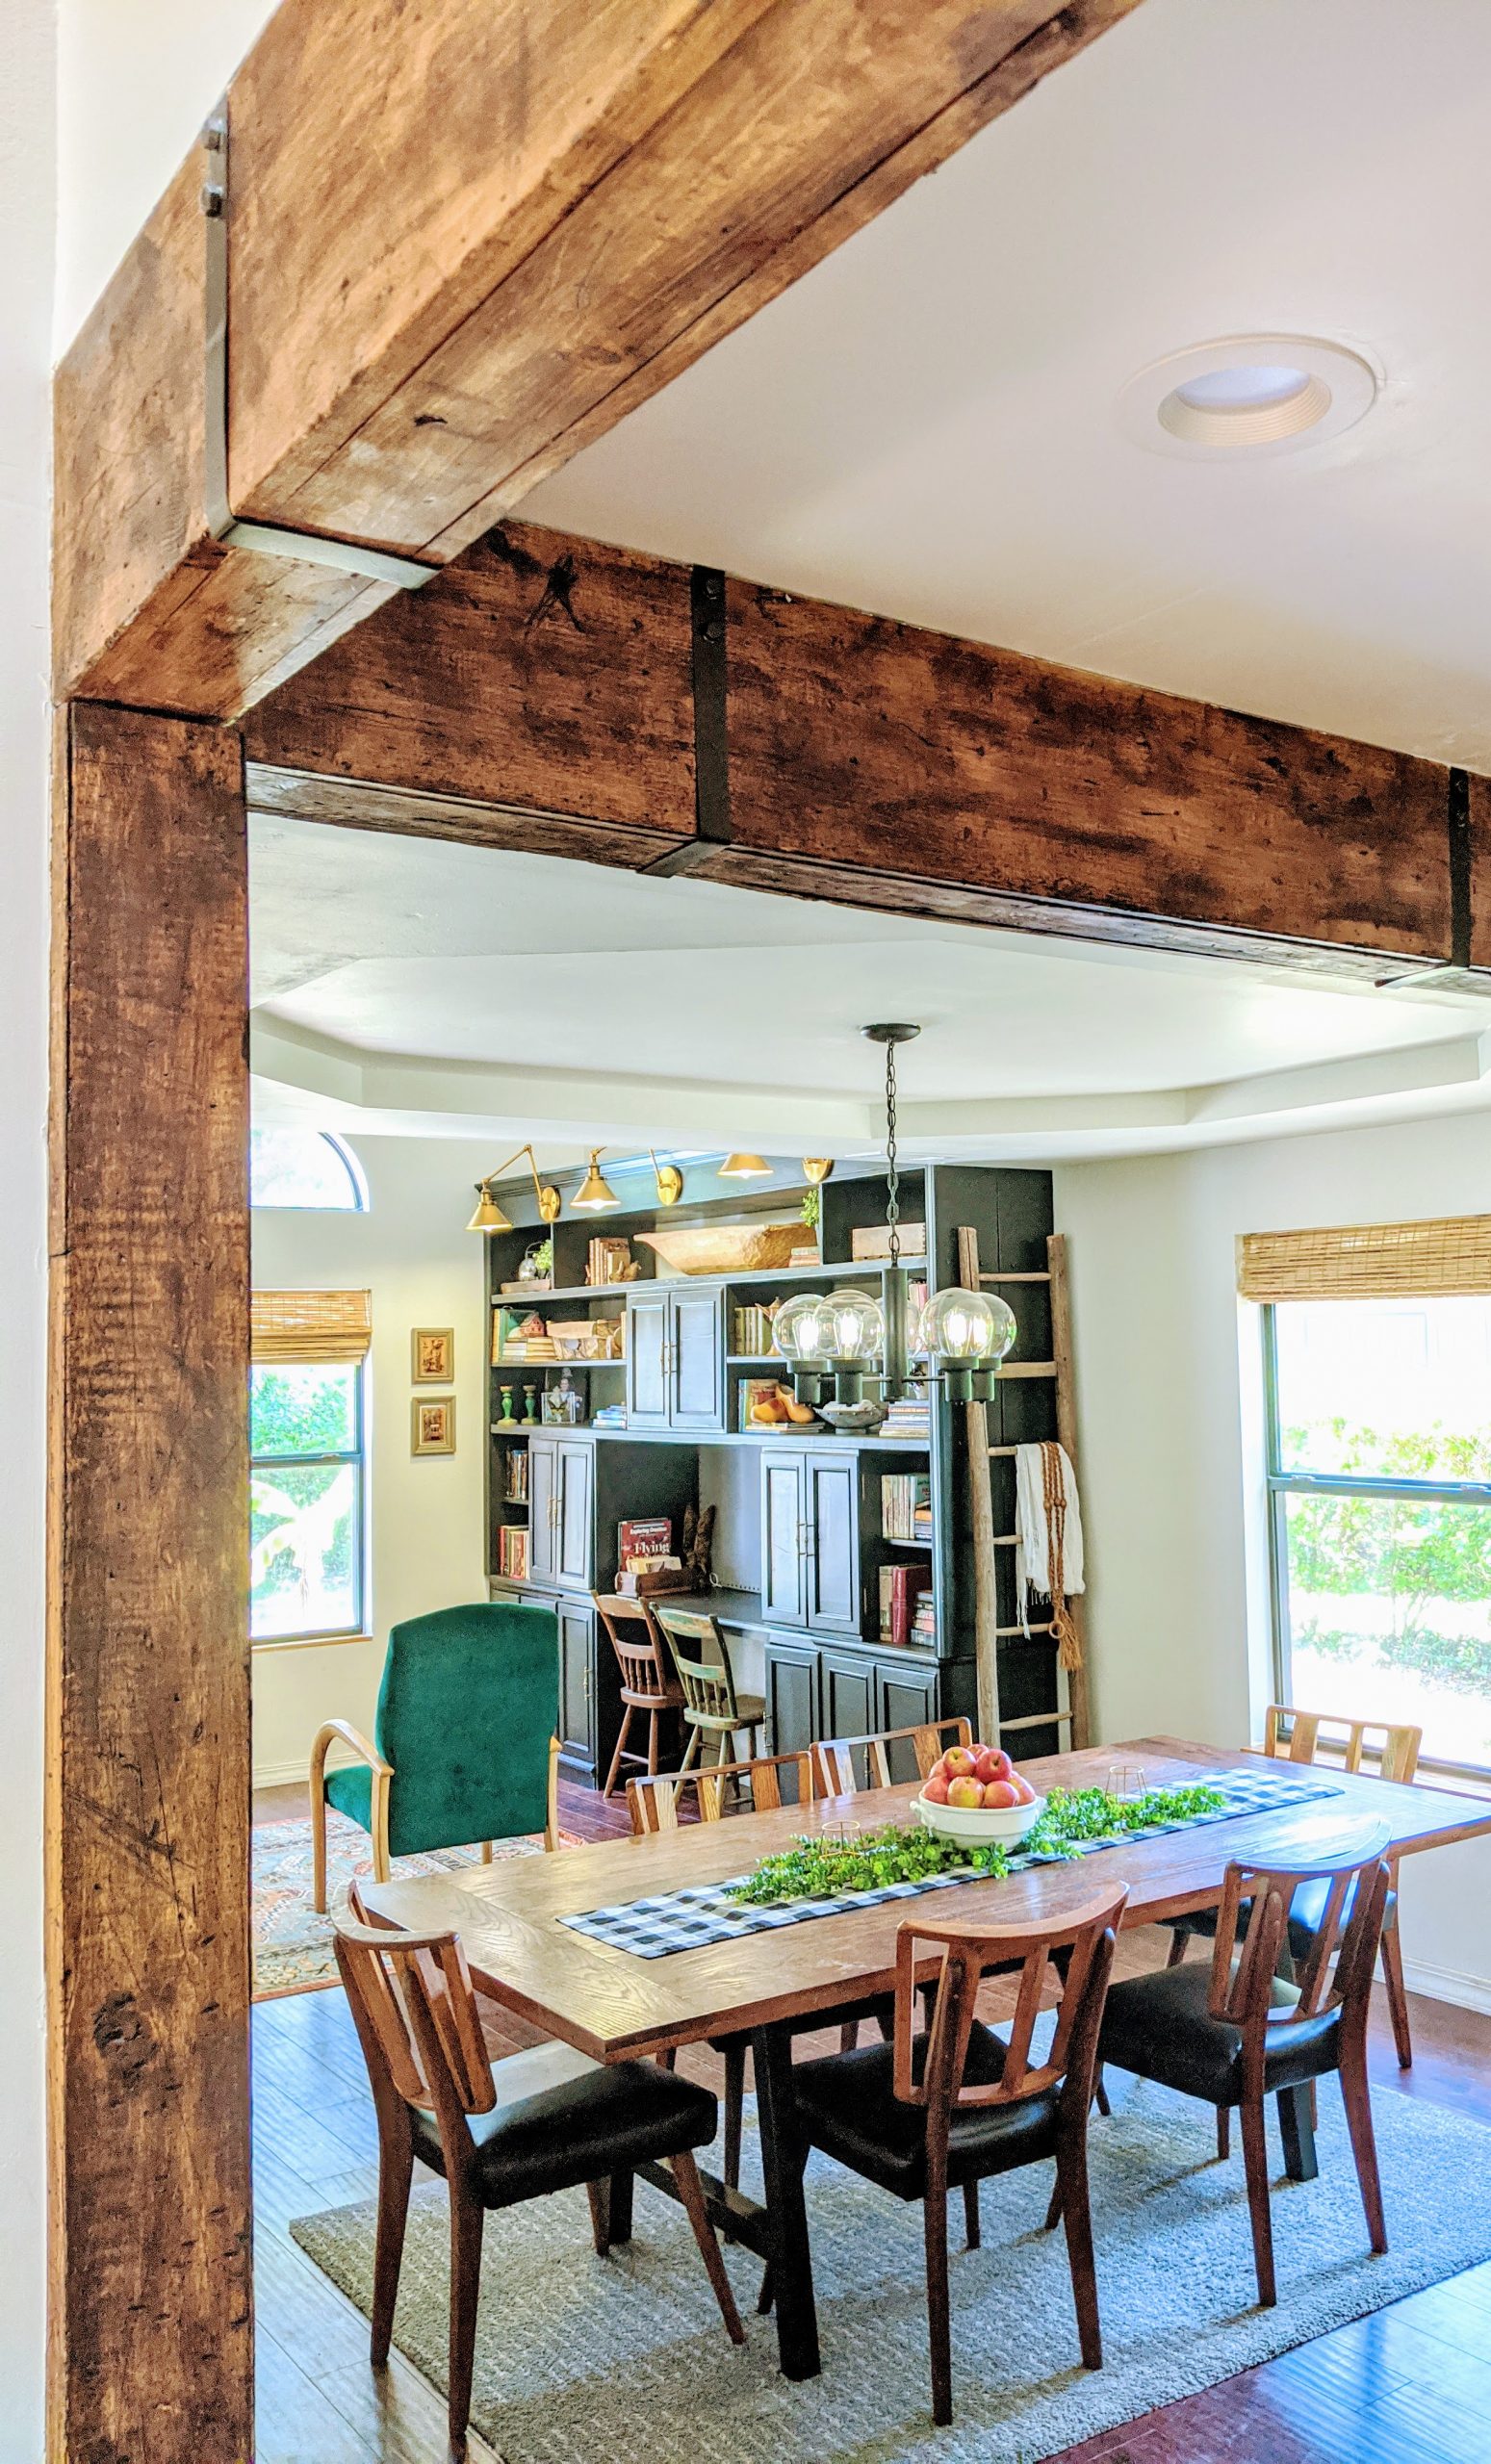
This project was part of our kitchen renovation. We had removed a pantry and a portion of the wall and decided to go ahead and put up some beams to support the wall that had been taken down. The portion of the wall leading into the dining room is load bearing and the other was not. We decided to go ahead and add support beams on both walls for extra support. Here are the supplies (not included are standard tools; drill, saws, etc..) you need for this:
SUPPLIES:
1-1/4 in 18-gauge brad nails or interior box nails if you don’t have a brad nailer
LIQUID NAILS Heavy Duty Multi-Purpose Construction Adhesive -10-Fl Oz)
Boards for the beams and column – We bought four 1”x”10”x10’, two 1”x6”x10, two 1”x4”x 10, and one 1”x8”x8’ (We used white wood boards).
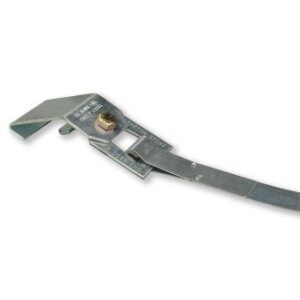
Two – 7-ft Mobile Home Strap for the industrial looking tie down straps (you’ll need tin snips for these)
1 can of Rust-Oleum Universal Flat Oil Rubbed Bronze Metallic Spray Paint and Primer In One
16 interior lag screws
Annie Sloan Dark Wax and Wax brush
Hammer and kids for scuffing the wood
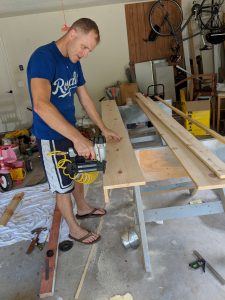
We started this project by taking measurements of the beams and columns to determine which boards to buy. Once we had the materials ready to go, we cut the board to the required length and width. Next, we glued and brad nailed the beams together.
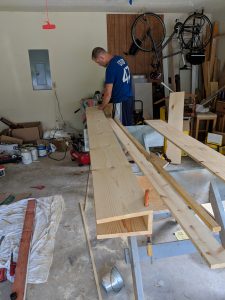
After we glued them together, we grabbed some hammers and recruited our kids to help us scuff them up. At this point we planned on using dark wax on these faux beams. Scuffing the boards allows the dark wax to penetrate the wood grain and make look rustic and worn.
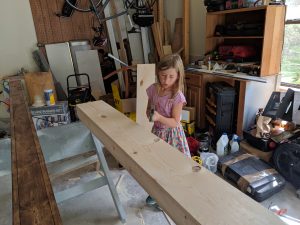
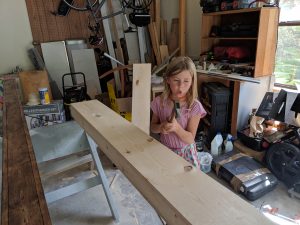
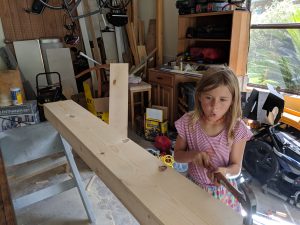
When the kids were finished having their fun, we lightly sanded them to prep for the Annie
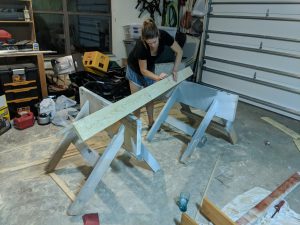
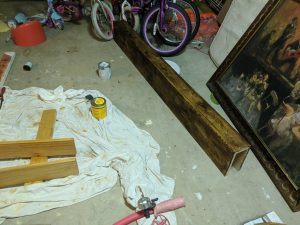
Sloan dark wax. It takes about 10 minutes with a wax brush on each beam. The next process was to fit them onto the support beams and line them up the correct way. The longer span support beam length is 14 ft length so it was better to use the 10-foot faux beam and two – 2ft pieces on either side. We chose this solution because we wanted the straps to be equal distance from the wall and the seam between the 2 pieces would be easily covered up by the tie strap. Once we lined them up, we brad nailed them into the support beam.
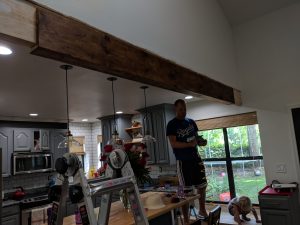
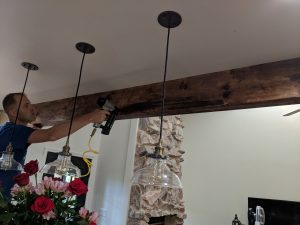
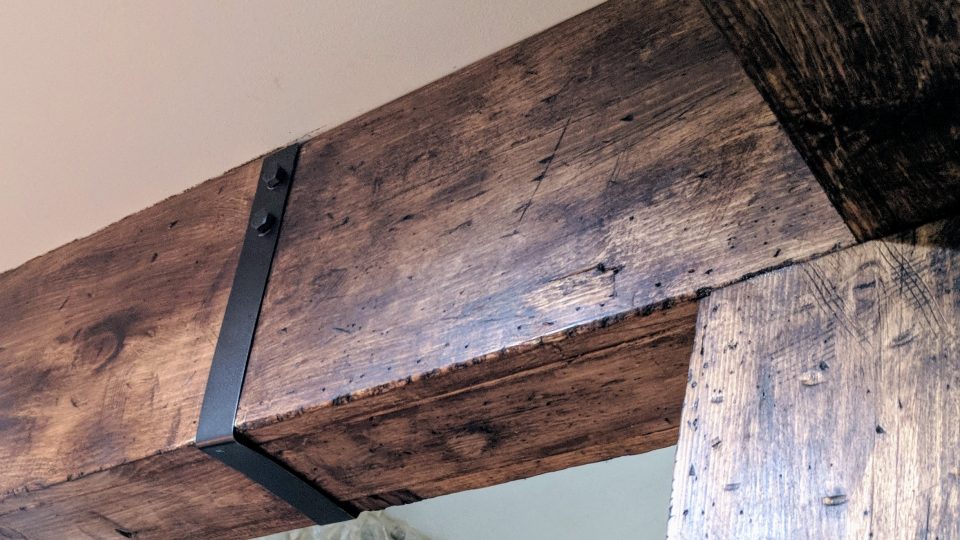
Next, we cut the metal strap down to the intended length and fitted it around the faux beams.
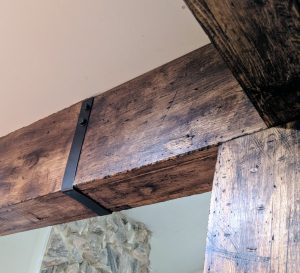
The next step was to drill holes into the straps for the lag screws. These straps don’t provide structural support, so we weren’t too picky on the exact setup, but we really wanted them to look like they were holding the beam up,so we placed 2 lag screws on each side at the top of the straps. The last step in the process is to cut the board for the columns and repeat the same process above (scuffing, sanding, waxing, etc…) The only difference between the faux beams and the column was the process of cutting them to make it look like the column is one piece. We cut each board for the column at a 45-degree angle length wise on one side. Then we lined up the two boards together and brad nailed them into the support column.
These beams make a great statement piece in our home and add a lot of character to our space. We hope this tutorial is helpful for you and that you thoroughly enjoy this project.
