Welcome to week three of the Wash, Fold, Repeat room (A.K.A. laundry room.)
 We just finished with week 3, which means we’re about halfway done. This room is finally starting to take shape and build character not just in appearance, but mentally. We’ve met a few design challenges as well as geometric failure.
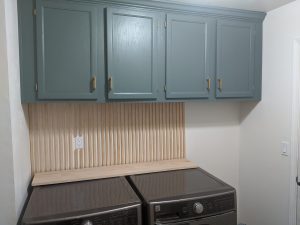
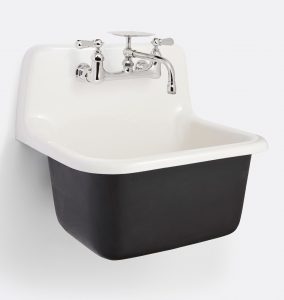
We put wood paneling on the wall behind the washer/dryer and it adds such a fun design element to that space. I love the natural wood color with the dark green cabinets. For the wood paneling we bought premium pine 1″x 2″x 8″ boards and cut it right down the middle. To avoid the risk of hitting a pipe with our brad gun we used heavy duty construction adhesive gorilla glue to hold the strips in place. I would place a wood strip without glue between each one to keep nice evenly space vertical lines. Once the glue dries (about 30 seconds) I removed the strip without glue. Currently the paneling stops at the end of the washer as we are still contemplating what to do in that space. I envision putting an antique sink or making my own concrete sink. I love the idea of a DIY sink, but feel a little intimated by the idea and cast iron sinks are harder to find than one might think.
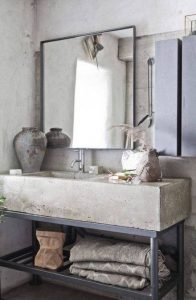
Inspiration sinks
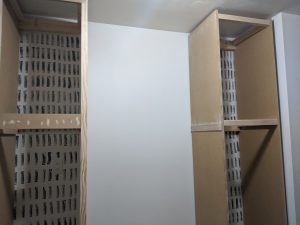
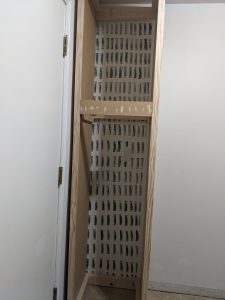
While we were still contemplating on what to so with that space to the right of the washer and dryer, we decided to begin tackling the cabinets. Oh wow! Cabinets! Alan built a tall, floor to ceiling cabinet that was made to last. No one is taking that baby apart. Now that it’s made, here comes the easy part, moving it to the laundry room….but nothing is ever easy when it comes to home renovation projects. But I’ll let Alan give you all the beautiful and gory details. As for me, I really wanted a fun pattern in the cabinets. I had been looking into wallpaper, but my style is a bit $$$. I decide to try out a sponge technique I had seen on Instagram. I cut my sponge into a straight line, measured my cabinet space and used the paint I had on hand from the cabinets. It is far from perfect, but such a fun little detail. Though not very many people will see inside my cabinets, she still deserves to be beautiful! 
The full tutorial will be coming on these DIY tall cabinets once they are complete, but for now we’ll just share a little of what our thought process was and why we decided to make it ourselves. We pictured having two tall cabinets on either side of a floating bench. We definitely need the extra cabinet space . It’s always a plus to take those clothes that are always thrown in a giant never ending heaping pile of mess and place them in a nice laundry basket….which will eventually be placed in the cabinets.
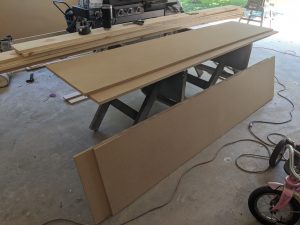
We wanted shaker cabinets in there for a sleek modern touch, but could not find any that were decently priced, so we decided to do it ourselves. We went to Lowes and purchased all our materials for under $200. We bought four 2”x4”x8’s, one ½”x 4’x 8’ MDF Cabinet particleboard, one ¾”x4’x8’ MDF Cabinet particle board, four 1”x2”x8’ premium pine *for the border), and four ½”x4”x2” ft premium pine project board (for the cabinet baseboard). The 2x4s are used for the cabinet reinforcement and the other items are for the trim, baseboard, and cabinet structural support, and shelving. The MDF particle board was pretty hefty as one piece. Because of the way our laundry room is shaped, our cabinets can only be around 20 to 21 inches in depth. So, we ended up having Lowes cut the ¾” board in half to ¾”x4’x2’. This also made it easier to load into the car and handle when cutting the cabinets. Alan used our table saw at home to cut them to the exact dimensions.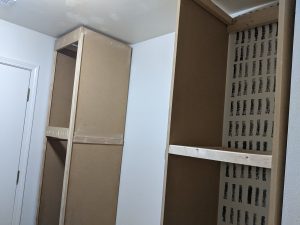
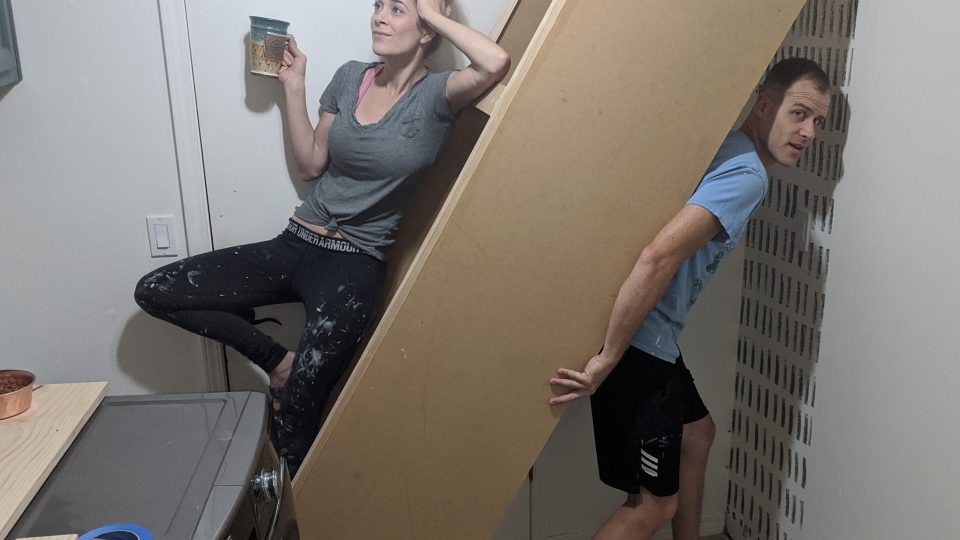
Then we used liquid nail and brad nails to secure it all together. Once complete, we brought it inside the laundry room to check the fit. We lifted it into the room only to realize that we had a “cabinet fail” on our hands. There wasn’t enough angle to fit it into the spot we needed (see our featured image for a little laughter 😊😊) We had quite the laugh on that one!. Next, we decided the best course of action was to cut it right below the top portion of the cabinet and place it into the room in 2 pieces (which we covered with ¼”x2” smooth oak particle board (Alan cut a leftover piece from another project). Lesson learned! We built the next one in the laundry room and it went smoothly and they fit perfectly (still need to take out the rest of the wall baseboard and then secure them into place.) Hopefully by week 4, they’ll have doors, shelves, paint, and crown molding😊 The adventure continues in week 4!!